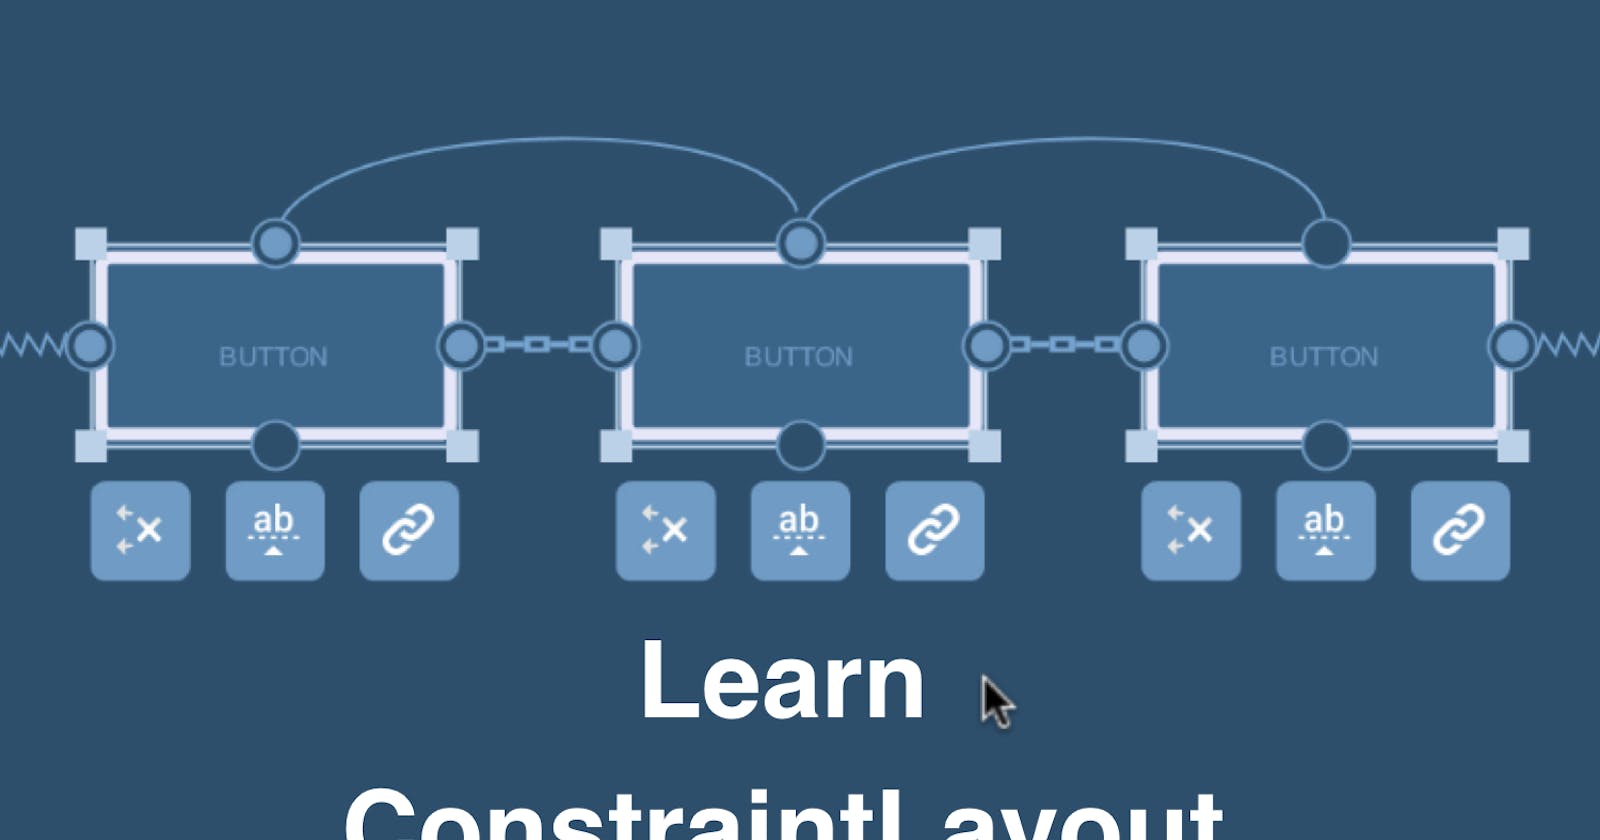
Hello World, we would be talking about constraint layout and how to make it work for you in your android project.This article make a great impact in your understanding on how constraint layout works for android development. An overview of this article would be the following :
- About the android Constraint Layout
- What is Constraint Layout?
- How to setup Constraint Layout in your project?
- Features of Constraint Layout
- Advanced features of constraint layout
- Two simple User Interface made with constraint layout
1. About android constraint Layout
The android constraint layout uses an algorithm called the cassowary algorithm and it was adopted in 2016 after goggle released it in the goggle I/O 2016 and it has been used since then in creating simple and complex layout in android apps since it shows a easy mechanism for animations. Currently constraint layout is the default in android studio as at android studio version 4.1 which support API 9 and above.

2. What is constraint Layout?
Constraint layout is an advanced layout mechanism in android which helps you in relative positioning of your views,enables flat view hierachy and provides simple layouts,flexible controls and better rendering peformance.It makes it an easy and effective way of creating your android application user interface(UI) which makes it easier to maintain.
In summary, constraint layout provides a simple and flexible structure to layout your android applications which solves the problem of creating both simple and complex layout for your android applications.

3. How to set-up constraint layout in your project ?
Add constraint layout to the application dependencies
create a project in the ,in the root of your project folder Android>Gradle Scripts> build.gradle(Module).
in the dependecies , add the constraint layout
dependencies {

  implementation 'androidx.appcompat:appcompat:1.2.0'
  implementation 'com.google.android.material:material:1.3.0'
  implementation 'androidx.constraintlayout:constraintlayout:2.0.4'
  testImplementation 'junit:junit:4.+'
  androidTestImplementation 'androidx.test.ext:junit:1.1.2'
  androidTestImplementation 'androidx.test.espresso:espresso-core:3.3.0'
}
- Add goggle to the repositiries in your Android>Gradle Scripts>build.gradle(Project)
   buildscript {
    repositories {
        google()
        jcenter()
    }
    dependencies {
        classpath "com.android.tools.build:gradle:4.1.2"

        // NOTE: Do not place your application dependencies here; they belong
        // in the individual module build.gradle files
    }
}

allprojects {
    repositories {
        google()
        jcenter()
    }
}

task clean(type: Delete) {
    delete rootProject.buildDir
}
- Converting another layout to constraint layout
right click on your layout in the layout editor in android studio and click on convert layout to constraint layout
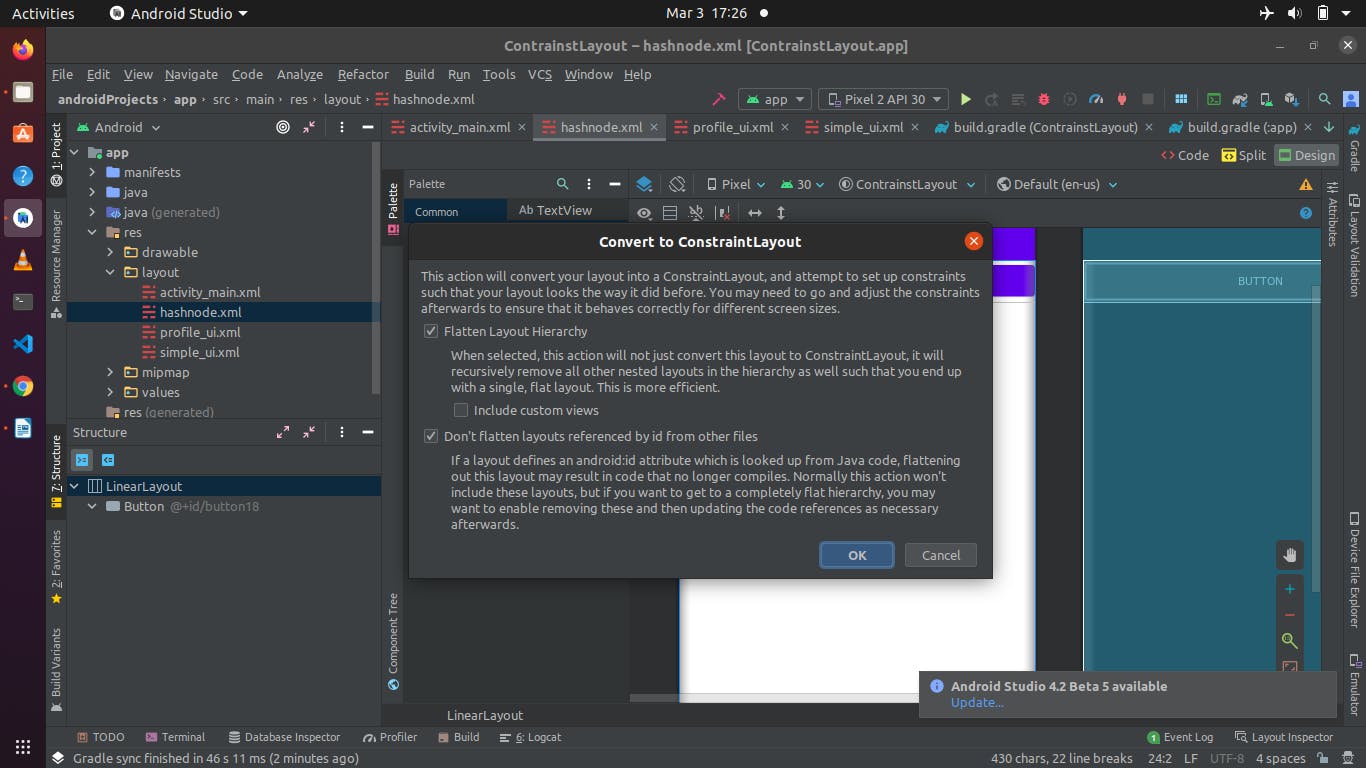
Congratulations , you have succesfully set-up constraint layout in your android project.
3. Features of Constraint Layout
Types of constraint layout
Use of chain and chain modes
Optimizing constraint layout with groups and guidelines
Types of constraint layout
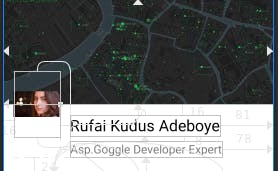
- Center constraint : This is a unique way of constraining your view my making one view having to be positioned to the center of another view.
In the image below , the profile picture of the lady is positioned to the center of the cover picture.
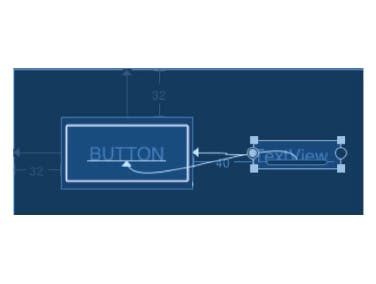
- Baseline constraint : This constraint helps you to align two view that contains a text to each other.
In the image below , The button in the text and the text in the textView are aligned to each other.
- Bias : This type of constraint enables you to move a view with the tendency to one bias(either horizontal or vertical) to one contraint.
The image below has a widget which has an horizontal bias to it and enables one to move the widget across horizontally.

Use of chains and chain mode
A chain is a group of widgets which are linked together in either two direction position constraints.
There are two types of chains
- Horizontal chains
- Vertical chains
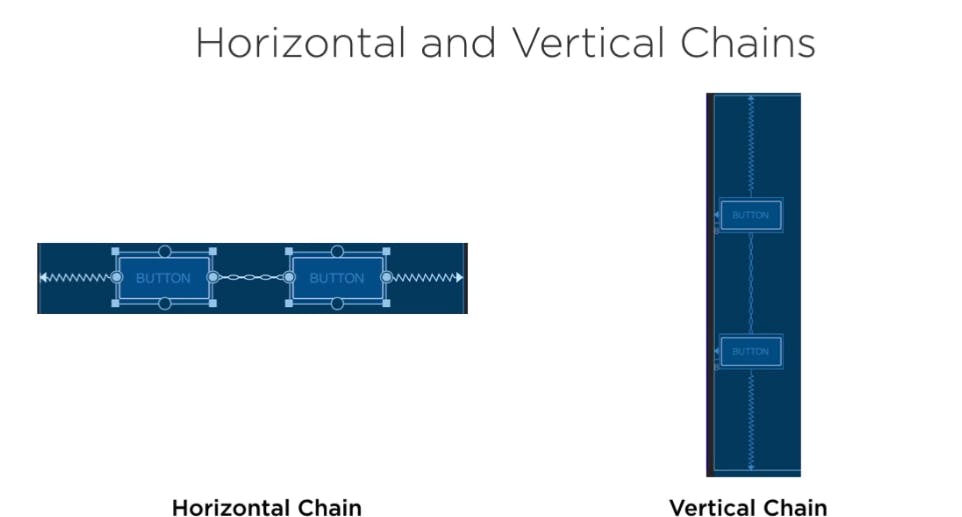
Chain modes :
Spread inside
Packed
Weighted
Spread inside

Packed

Weighted

Optimizing constraints with groups and guidelines
- Guideline:
A guildeline in constraint layout helps you to align views either horizontally or vertically and cannot be seen at runtime in essence is a visual guide.
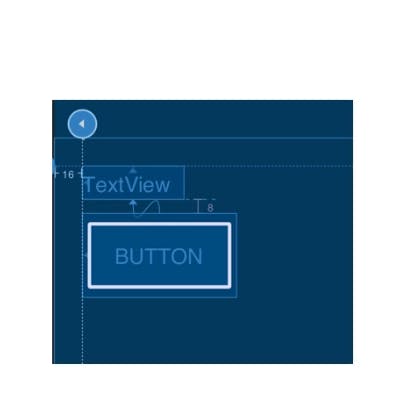
- Groups:
A group is an helper element in constraint layout that is used to group view together and has a visibility property element .
Note : Must not to be confused with ViewGroup in android
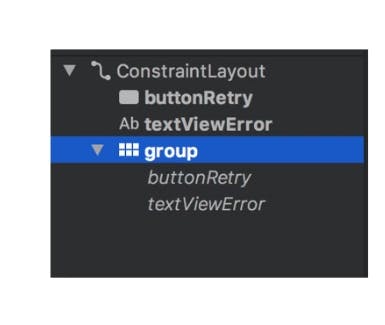
Advanced features of constraint layout
Barriers
Ratios
Circular Positioning
Barriers
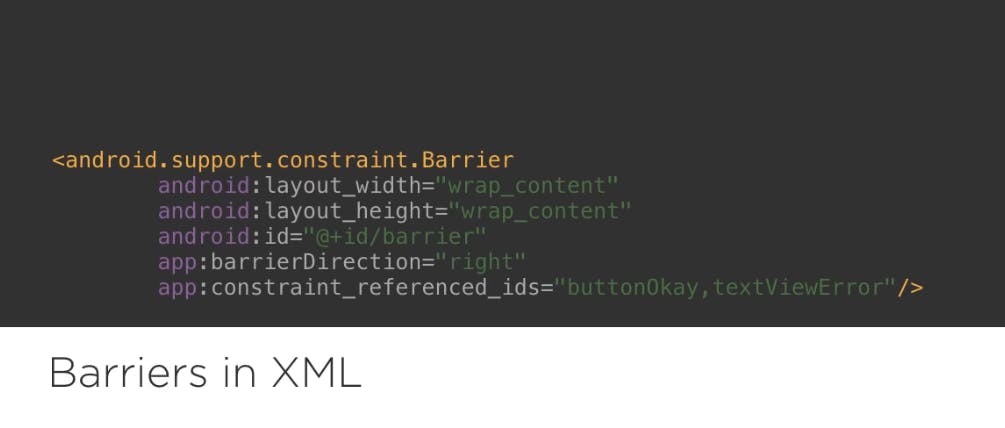
A barrier in constraint layout is quite a complex concept to understand but once understood you can always make use of it in your layout . A barrier is more of a guide box or container that stretches and pushes widgets aligned with it to avoid overlapping.
The image below is a preview in the layout editor that show it has a right barrier
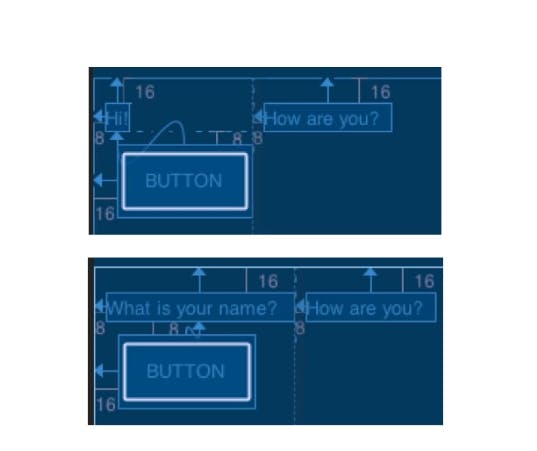
and the image below is the code in .xml,
Ratio
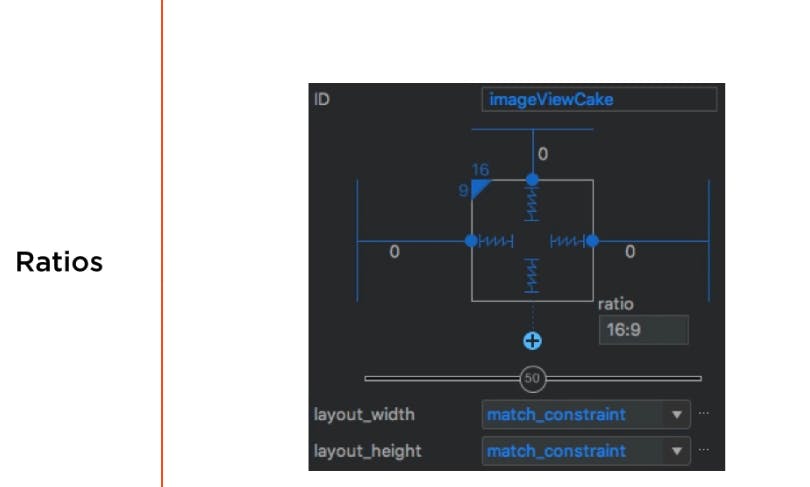
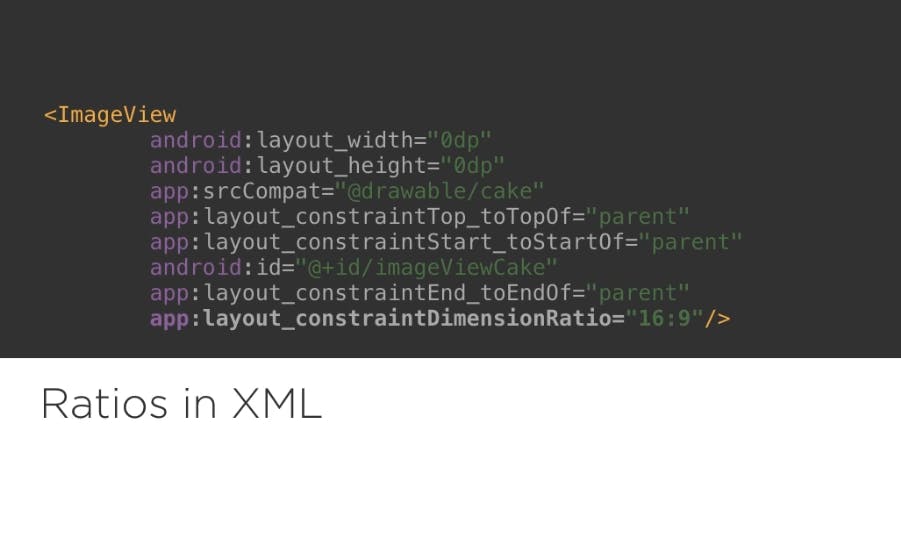
A ratio shows the relative sizes of two or more view in the layout which can help you in resizing the view to your own preference
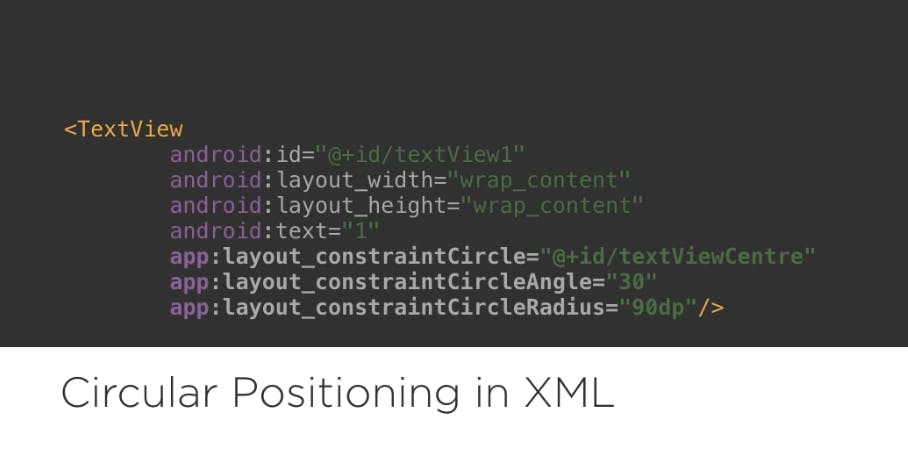
Circular Positioning
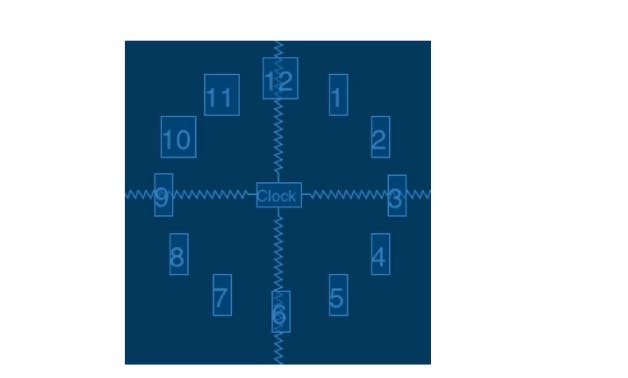
This helps in positioning views in degree to a particular widget in layout.
Two simple User Interface made with constraint layout
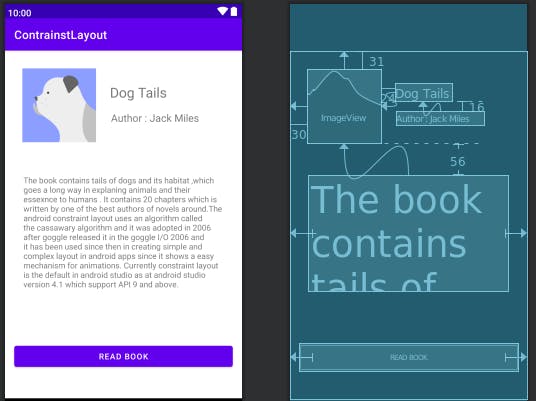
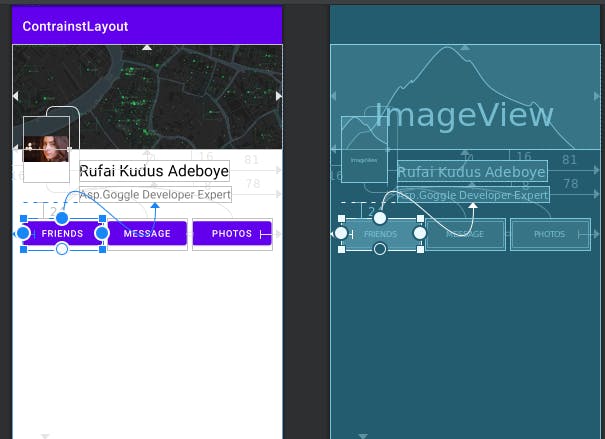
Below would be two simple user interface made with constraint layout along with their blueprint.
A book preview user interface
A profile user interface with its blueprint showing its views constraints
Thanks for reading this article - Rufai Kudus Adeboye
