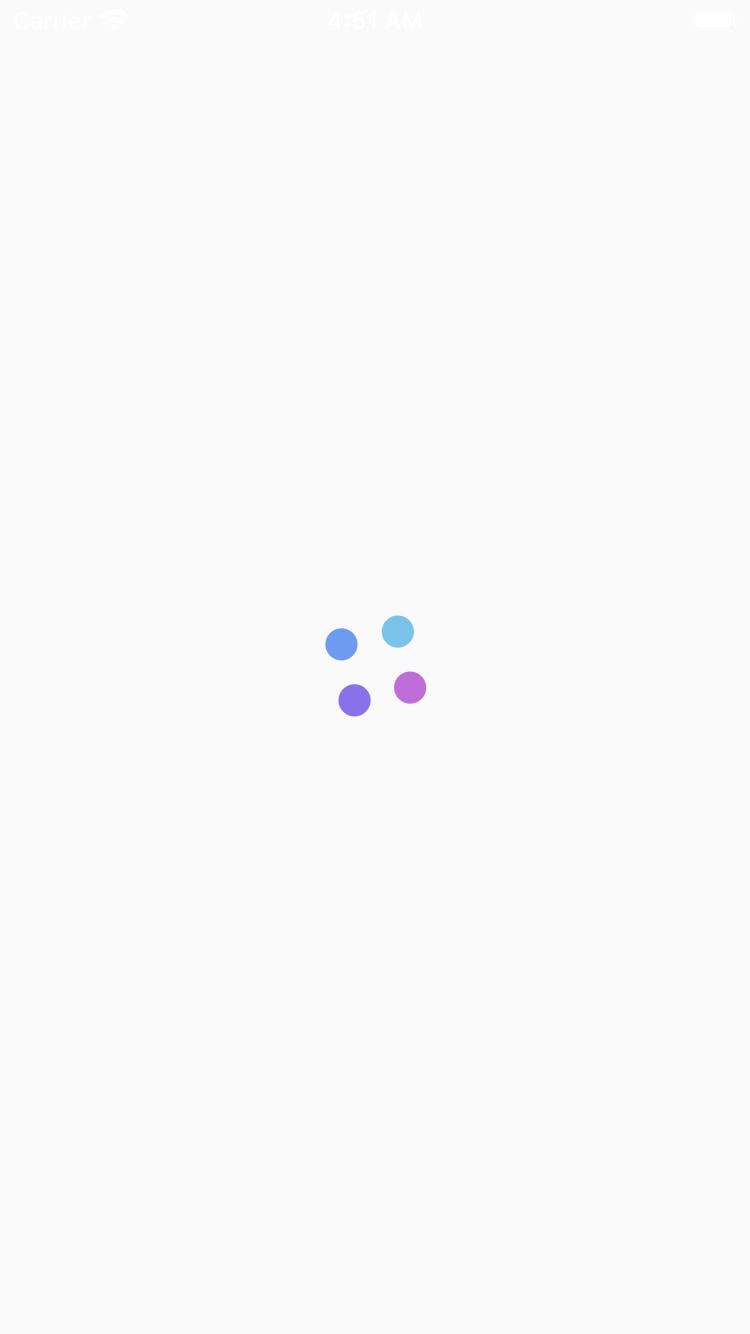
Ever tried to have the same loading screen on a click of a button throughout your app without having to wrap that widget with a conditional loading widget everytime.In this article, i would be demonstating a better way at which you can do that using provider in flutter.We would be following the simple steps below to achieve our proposition or idea ;
Provider concept
- Install the dependecies needed to achieve our objective which are provider as a state management tool and lottie for our loading animation.
- Set up our baseviewModel that acts as a mother provider class which our viewmodels can extend from and has helper functions like init and dispose.
- Create the screen loader(with lottie) which is the view that comes up when we want to have a loading state and we set up the baseView which wraps the screen loader with a consumer from the provider package.
- Create a provider concrete for the feature.
- Build user interface and implement the previous steps.
Overlay concept
- Create an overlay entry
- Create a function that takes in a boolean and an entry which would help insert and remove entries from the overlay
- Steps 1 and 2 to complete the process
Now let's get started,
Provider concept
Install the dependecies needed to achieve our objective which are provider as a state management tool and lottie for our loading animation
dependencies:
  flutter:
    sdk: flutter

  provider: ^6.0.4
  lottie: ^1.4.3
Set up our baseviewModel that acts as a mother provider class which our viewmodels can extend from and has helper functions like init and dispose
abstract class BaseViewModel extends ChangeNotifier {
  bool _isLoading = false;
  bool _isDisposed = false;
  bool _isInitializeDone = false;

  bool get isLoading => _isLoading;
  bool get isDisposed => _isDisposed;
  bool get isInitialized => _isInitializeDone;

  FutureOr<void> _initState;

  BaseViewModel() {
    SchedulerBinding.instance.addPostFrameCallback((_) {
      _init();
      log("init called VM...");
    });
  }

  FutureOr<void> initState();
  FutureOr<void> disposeState();

  void _init() async {
    log("init called again.....................");
    _initState = initState();
    await _initState;
    _isInitializeDone = true;
    initState();
  }

  changeState() {
    notifyListeners();
  }

  changeLoaderStatus(bool status) {
    _isLoading = status;
    notifyListeners();
  }

  @override
  void dispose() {
    _isDisposed = true;
    disposeState();
    super.dispose();
  }
}
Create the screen loader(with lottie) which is the view that comes up when we want to have a loading state and we set up the baseView which wraps the screen loader with a consumer from the provider package.
class FullScreenLoader extends StatelessWidget {
  const FullScreenLoader({super.key});

  @override
  Widget build(BuildContext context) {
    return Scaffold(
      backgroundColor:
          Theme.of(context).scaffoldBackgroundColor.withOpacity(0.5),
      body: Column(
        mainAxisAlignment: MainAxisAlignment.center,
        children: [
          Center(
            child: SizedBox(
              width: 100,
              height: 100,
              child: Lottie.asset(
                lottieLoaderPath,
                animate: true,
                repeat: true,
              ),
            ),
          ),
        ],
      ),
    );
  }
}

Create a provider concrete class that extends the abstract class baseviewmodel for the feature
class HomeViewModel extends BaseViewModel {
  BuildContext? context;
  HomeViewModel({this.context});
  @override
  FutureOr<void> disposeState() {}

  @override
  FutureOr<void> initState() {}

  void startLoading({bool isOtherScreen = false}) async {
    changeLoaderStatus(true);
    await Future.delayed(const Duration(seconds: 6));
    if (isOtherScreen) {
      Navigator.pop(context!);
    } else {
      Navigator.push(
          context!,
          Platform.isAndroid
              ? MaterialPageRoute(builder: (context) => const OtherScreen())
              : CupertinoPageRoute(builder: (context) => const OtherScreen()));
    }
    changeLoaderStatus(false);
  }


}
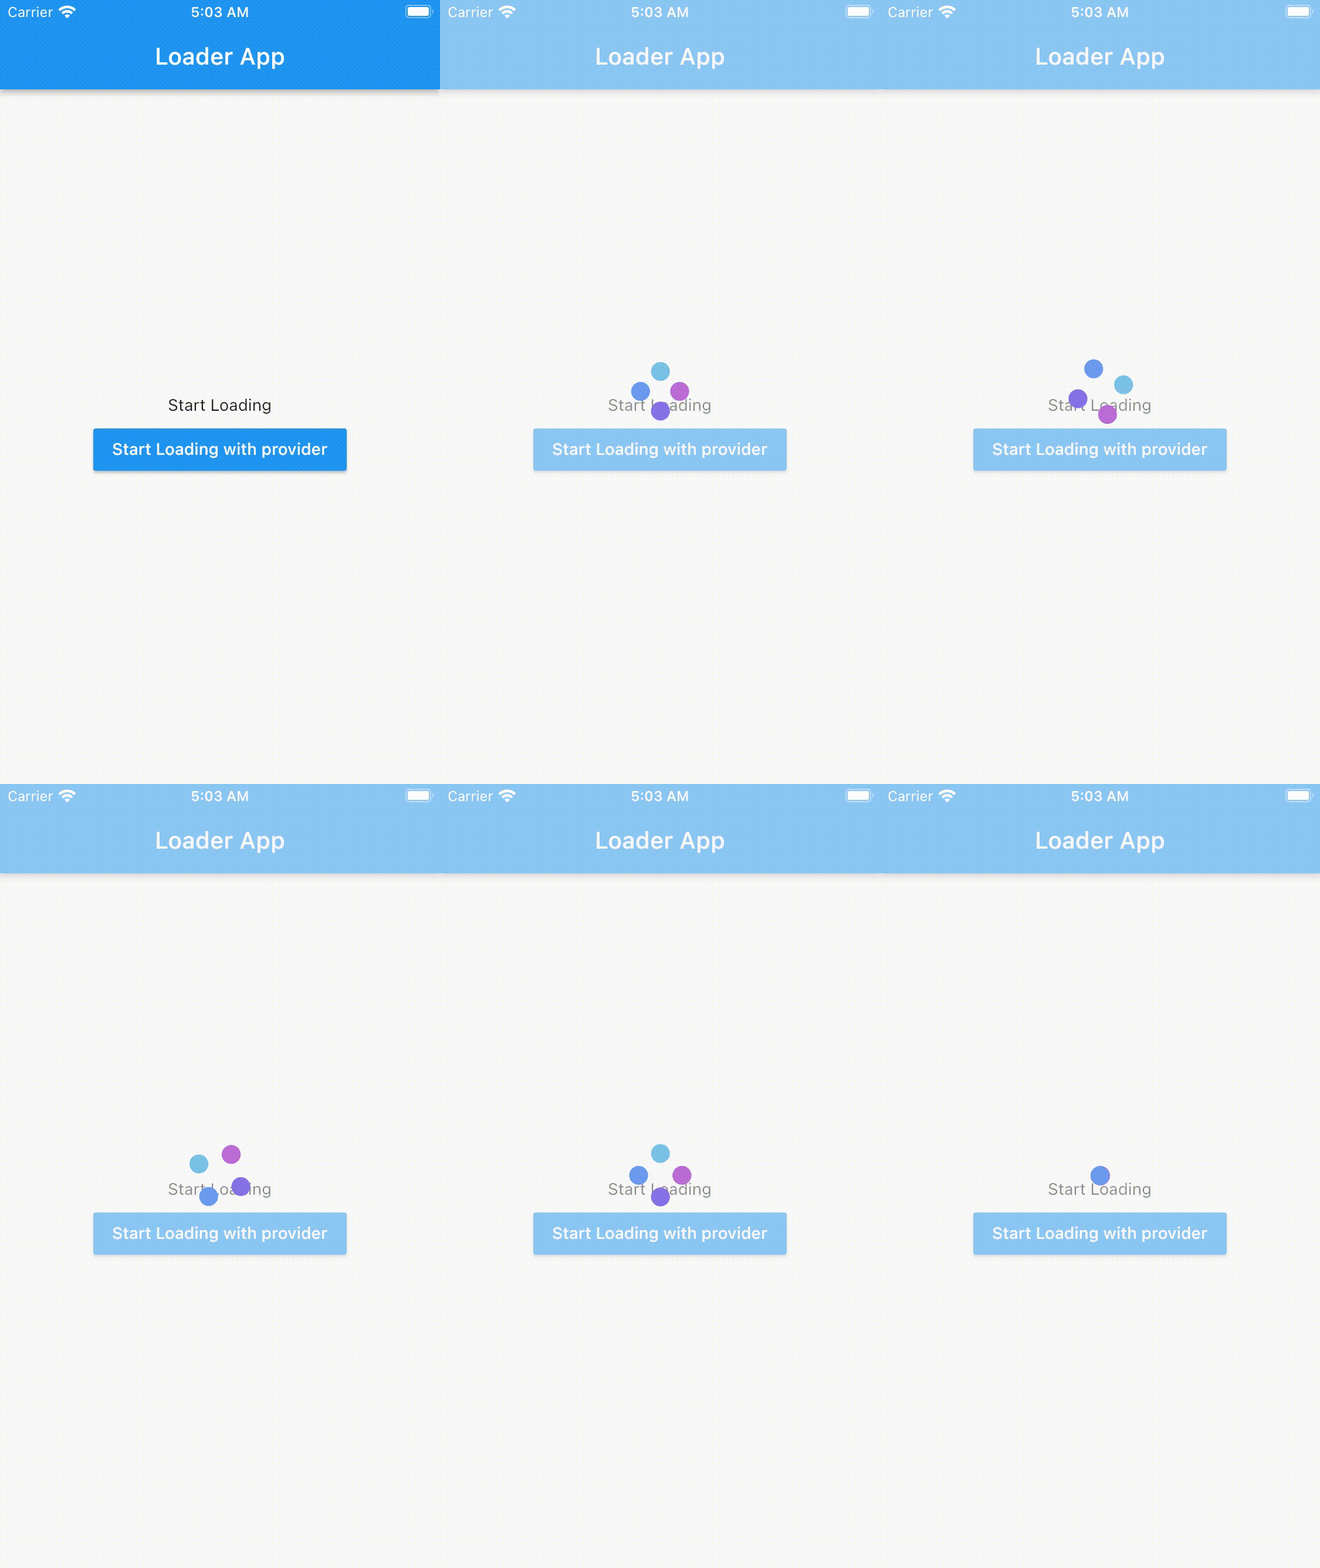
what the startLoading method is , it changes the loading state of the isLoading bool to true in our baseviewmodel then wait for a future of 6 seconds then if the isOtherScreen bool based into it is false which is the default value it navigates to the other screen and then return the loading state of the isLoading bool back to false.
Create the main user interface and implement the previous steps.
class MyHomePage extends StatelessWidget {
  const MyHomePage({super.key, required this.title});

  final String title;
  @override
  Widget build(BuildContext context) {
    return BaseView<HomeViewModel>(
      vmBuilder: (context) => HomeViewModel(context: context),
      builder: _buildScreen,
    );
  }

  Widget _buildScreen(BuildContext context, HomeViewModel viewModel) {
    return Scaffold(
      appBar: AppBar(
        title: Text(title),
      ),
      body: Center(
        child: Column(
          mainAxisAlignment: MainAxisAlignment.center,
          children: <Widget>[
            const Text(
              'Start Loading',
            ),
            const SizedBox(
              height: 5,
            ),
            MaterialButton(
              onPressed: viewModel.startLoading,
              color: Theme.of(context).primaryColor,
              child: Text(
                "Start Loading with provider",
                style:
                    TextStyle(color: Theme.of(context).scaffoldBackgroundColor),
              ),
            ),
          ],
        ),
      ),
    );
  }
}
Result of the above code is below

Overlay concept
Create an overlay entry
OverlayEntry entry =
    OverlayEntry(builder: (context) => const FullScreenLoader());
Create a function that takes in a boolean and an entry which would help insert and remove entries from the overlay
changeOverLayLoadingState(bool? isLoading, OverlayState? overlayState) async {
  assert(overlayState != null);
  if (isLoading == true) {
    overlayState!.insert(entry);
  } else {
    if (overlayState!.mounted) {
      entry.remove();
    }
  }
}
Implementation of the overlay concept
The function for the feature
class HomeViewModel extends BaseViewModel {
  BuildContext? context;
  HomeViewModel({this.context});
  @override
  FutureOr<void> disposeState() {}

  @override
  FutureOr<void> initState() {}


  OverlayState? overlayState;

  void startLoadingOverlay({bool isOtherScreen = false}) async {
    overlayState = Overlay.of(context!);
    changeOverLayLoadingState(true, overlayState);
    await Future.delayed(const Duration(seconds: 6));
    changeOverLayLoadingState(false, overlayState);
  }
}
In the user inface
class MyHomePage extends StatelessWidget {
  const MyHomePage({super.key, required this.title});

  final String title;
  @override
  Widget build(BuildContext context) {
    return BaseView<HomeViewModel>(
      vmBuilder: (context) => HomeViewModel(context: context),
      builder: _buildScreen,
    );
  }

  Widget _buildScreen(BuildContext context, HomeViewModel viewModel) {
    return Scaffold(
      appBar: AppBar(
        title: Text(title),
      ),
      body: Center(
        child: Column(
          mainAxisAlignment: MainAxisAlignment.center,
          children: <Widget>[
            const SizedBox(
              height: 5,
            ),
            MaterialButton(
              onPressed: viewModel.startLoadingOverlay,
              color: Theme.of(context).primaryColor,
              child: Text(
                "Start Loading with overlay",
                style:
                    TextStyle(color: Theme.of(context).scaffoldBackgroundColor),
              ),
            )
          ],
        ),
      ),
    );
  }
}
The result is almost the same as the provider concept.The link to the github repository for this implementation is in the link below.
