

OPay is a digital payment platform that offers financial services such as mobile money, bill payments, and P2P transfers. Flutter, on the other hand, is an open-source UI development framework developed by Google. This article aims to guide developers on how to integrate OPay with Flutter to build mobile applications that enable digital payment. This article is going to serve as a guide to integrating Opay as a mode of payment in your Flutter app. Below contains the content structure of the article.
Table of content
Prerequisites for Integration
Setting up the Opay SDK in your project
Configuring Flutter for OPay Integration
Building a Sample OPay Integration App
Testing the OPay Integration
Summary and Conclusion
Prerequisites for Integration
Before integrating OPay with Flutter, you need to ensure that you have the following prerequisites:
A basic understanding of dart(Flutter)
An OPay Merchant Account
An OPay Sandbox Account
An Opay Public Key(Test or Production)
A Flutter IDE (such as Android Studio or VS Code)
First and foremost, it's essential to have a good understanding of the Flutter framework and its capabilities. Flutter is a powerful UI development kit created by Google that enables developers to build high-performance mobile applications for Android and iOS platforms using a single codebase. By having a good understanding of the Flutter framework, you'll be able to build a robust and reliable app that integrates seamlessly with Opay.
Next, you'll need a public key from your Opay merchant account. This key is necessary to enable secure transactions and to ensure that your customers' payment information is protected. To create a public key, you'll need to follow the instructions provided by Opay. You can easily get by using this link https://merchant.opaycheckout.com/login

Finally, it's important to have a good integrated development environment (IDE) that supports both Dart and Flutter. Popular IDEs include Android Studio, Visual Studio Code, and IntelliJ IDEA. These IDEs provide a range of features that make developing Flutter apps more manageable, including debugging tools, code completion, and project management features.
Setting up the Opay SDK in your project
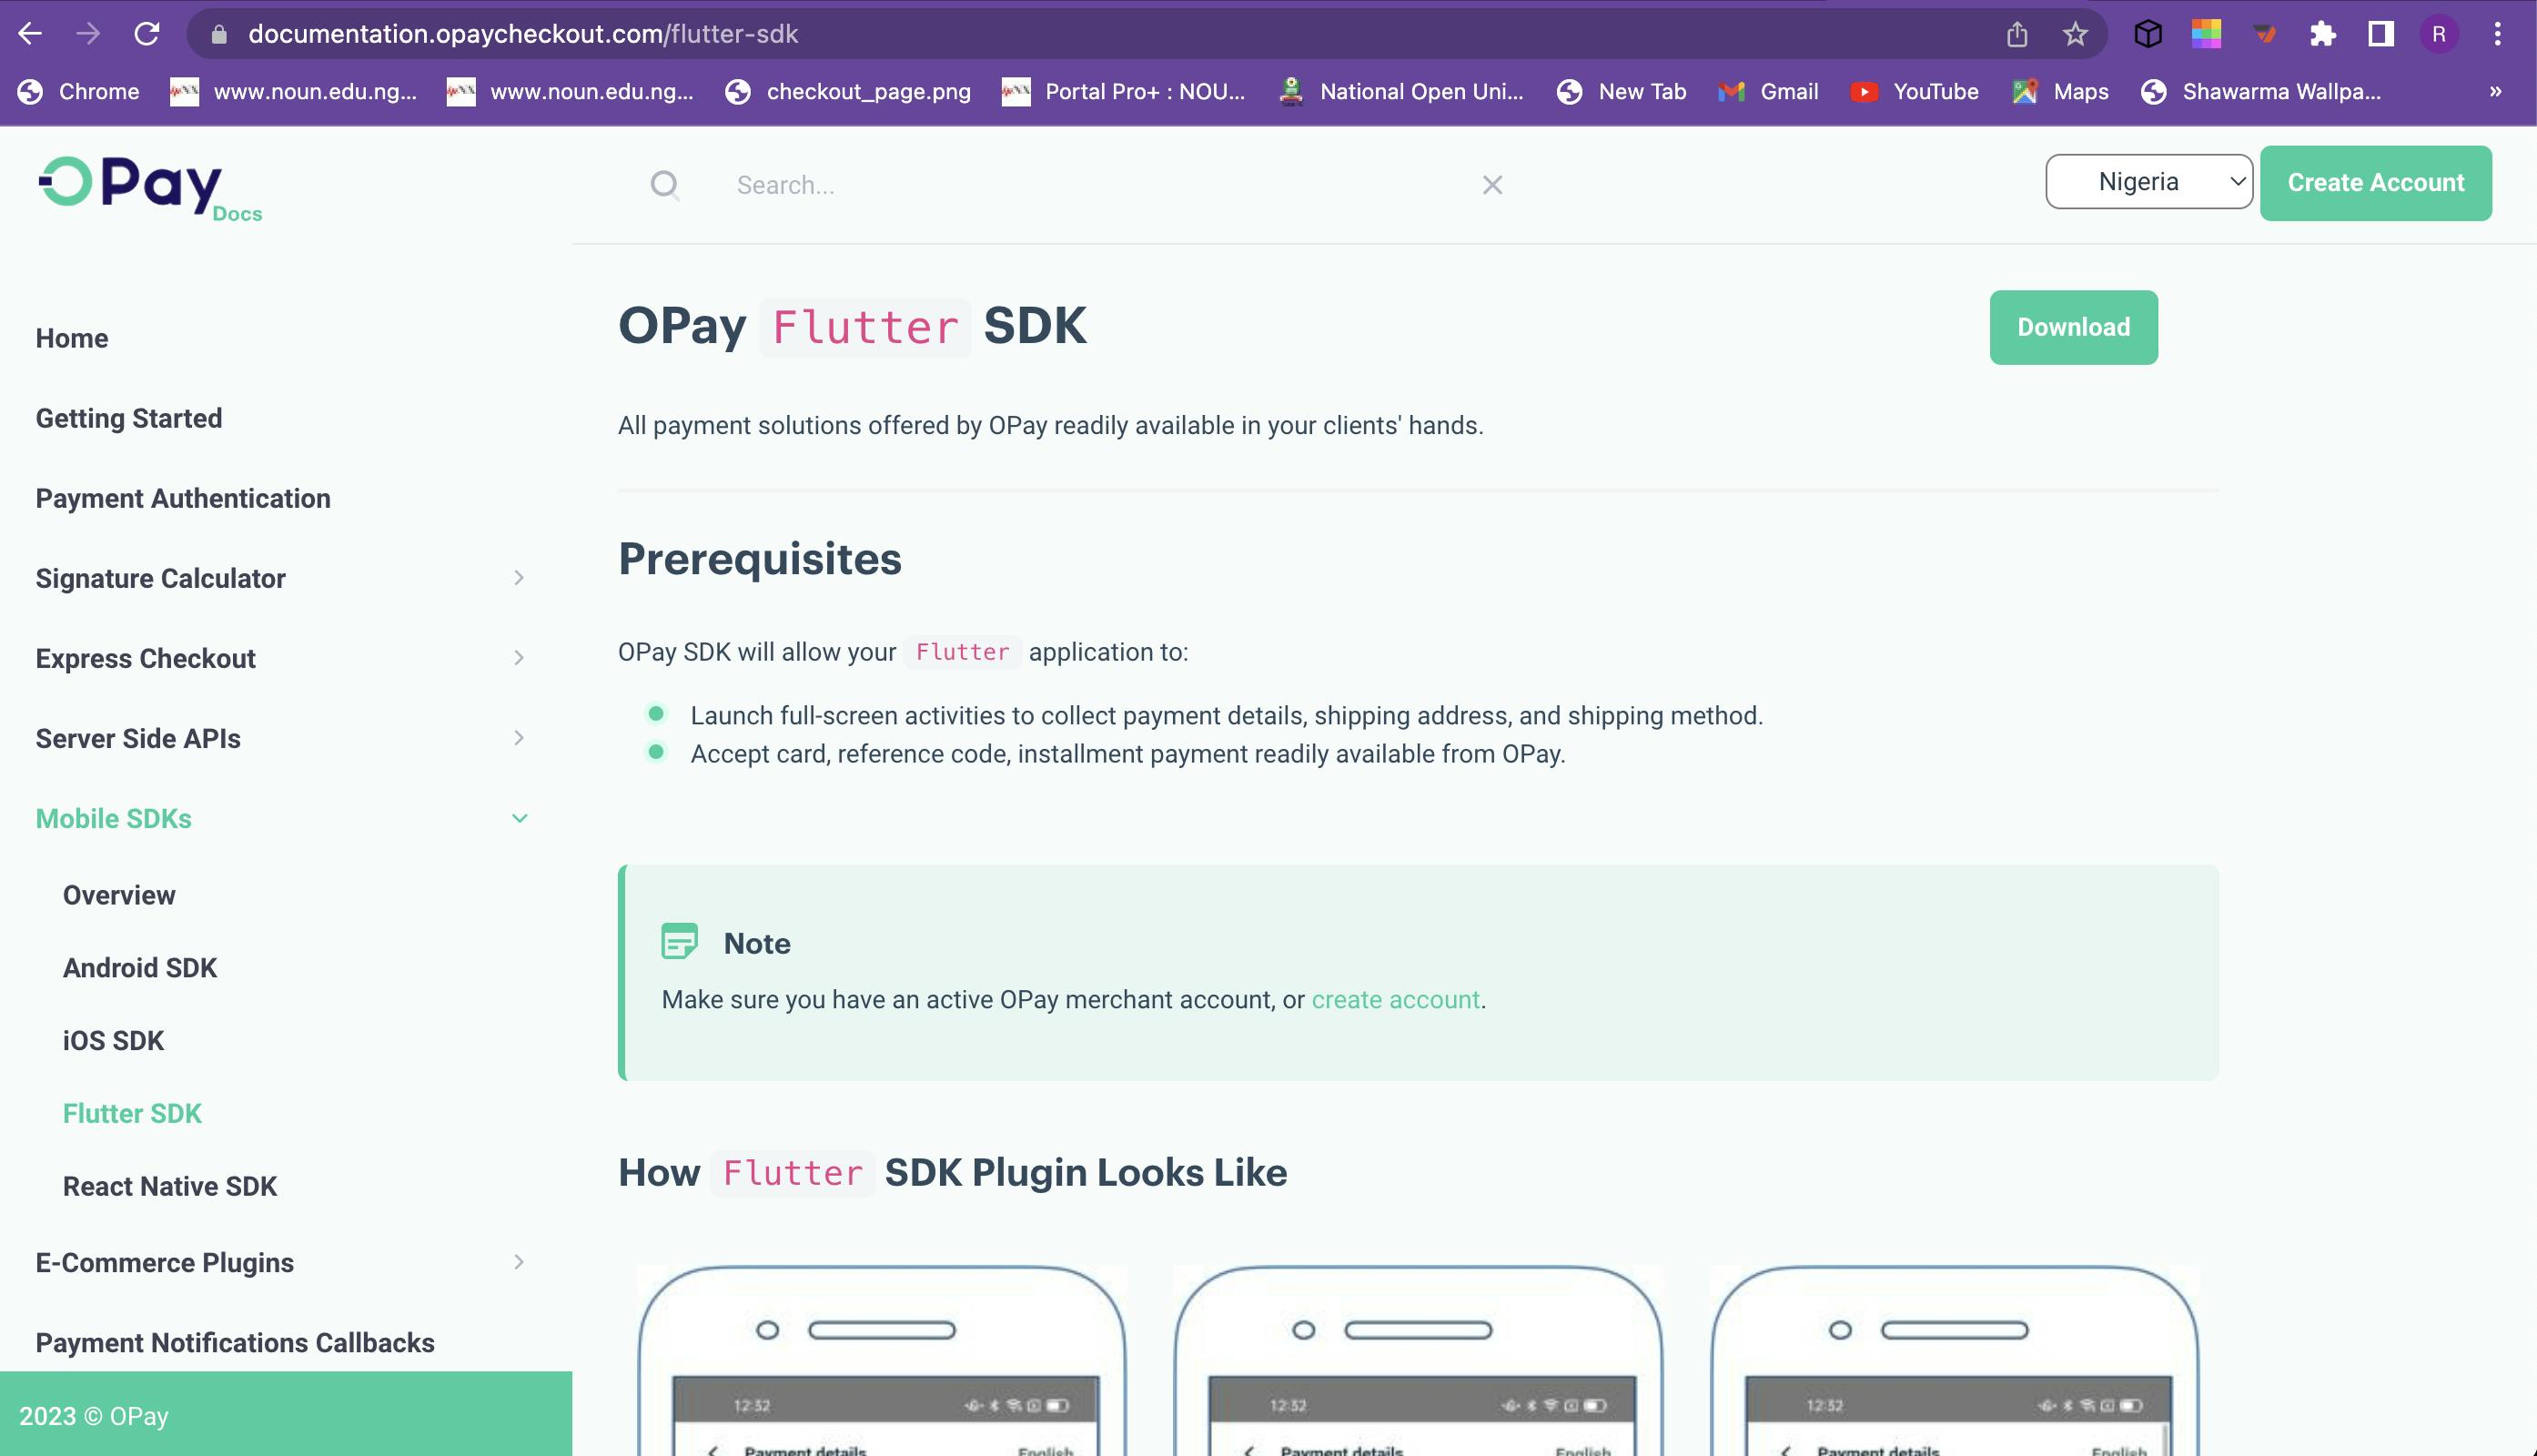
To set up the opay SDK in your project you would need to go the the opay documentation and move to the mobile sdks section to download the sdk or you can use this link https://documentation.opaycheckout.com/flutter-sdk.
after downloading, you then uncompress the sdk and place in the root directory of your flutter project or you create a folder called "packages" and place the sdk in the folder to make it more organized. A sample is shown in the image below

Configuring Flutter for OPay Integration
To appropriately configure the downloaded sdk for your project and make use of the sdk, you would need to add it as an internal/local package to your flutter project in the pubspec.yaml file of your project just the same way packages are added from pub.dev the only difference would be you would be specifying a path to the package in your pubsoec.yaml file. Illustration of this is being shown below.

After adding the opay sdk to the pubspec.yaml file of the project, it is recommended to do a 'flutter pub get'.
Building a Sample OPay Integration App

To get started, we create an abstract class that would handle the response based on the user interaction with the gateway to make it test driven, code snippet of this is shown below.

afterwards we create a concrete class that implements this abstract class then we create a function that initializes the create order function from opay
class OpayGateway implements OpayAbstractHandler {
  OpayGateway._privateConstructor();

  static OpayGateway instance = OpayGateway._privateConstructor();

  GlobalKey<NavigatorState> opayNavigatorKey = GlobalKey<NavigatorState>();
  @override
  initializePayment({
    required PayParams paymentParams,
    required Function(OPayResponse response) initialState,
    required Function(OPayResponse response) pending,
    required Function(OPayResponse response) onSuccess,
    required Function(OPayResponse response) onFailed,
    required Function(OPayResponse response) onClose,
    required Function() onError,
  }) async {
    try {
      await OPayTask()
          .createOrder(opayNavigatorKey.currentContext!, paymentParams,
              httpFinishedMethod: () {})
          .then((response) {
        //httpResponse (Just check the reason for the failure of the network request)
        String createOrderResult = response.payHttpResponse.toJson((value) {
          if (value != null) {
            return value.toJson();
          }
          return null;
        }).toString();
        debugPrint("httpResult=$createOrderResult");
        //  Response (Payment result check )
        if (response.webJsResponse != null) {
          var status = response.webJsResponse?.orderStatus;
          debugPrint("webJsResponse.status=$status");
          if (status != null) {
            //
          }
          switch (status) {
            case PayResultStatus.initial:
              initialState(response);
              break;
            case PayResultStatus.pending:
              pending(response);
              break;
            case PayResultStatus.success:
              onSuccess(response);
              break;
            case PayResultStatus.fail:
              onFailed(response);
              break;
            case PayResultStatus.close:
              onClose(response);
              break;
          }
        }
      });
    } catch (e) {
      debugPrint(e.toString());
      onError();
    }
  }
}
We've successfully created a payment handler in your code, you can therefore reuse anywhere in your app and get a response to take further actions depending on your integration flow. Below is the code on how to implement this reusable method in the "OpayGateway" class in your app.
 ElevatedButton(
          style: const ButtonStyle(
              backgroundColor: MaterialStatePropertyAll(appColor)),
          onPressed: () async {
            CustomDisplay.loading();
            String apiKey = "[API_KEY]";
            String merchantID = "[MECHANT_ID]";
            String referenceNumber = "[CUSTOM_PAYMENT_REF]";
            String merchantName = "[MECHANT_NAME]";

//available payment types

// BankAccount

// BankTransfer

// BankUssd

// OpayWalletNg

// BankCard

// OpayWalletNgQR

// ReferenceCode

            PayParams paymentPayload = PayParams(
              apiKey,
              publicKey: apiKey, // your public key
              merchantId: merchantID,
              merchantName: merchantName,
              reference: referenceNumber,
              countryCode: Country.egypt.countryCode,
              payAmount: [AMOUNT_FROM_UI] in integer,
              currency: Country.egypt.currency,
              productName: "Flutter opay",
              productDescription: "Testing flutter opay",
              callbackUrl: "[Your web url here]",
              paymentType: "",

              expireAt: 30,
              userClientIP: "[your custom IP]",
              // optional
              //optional
              // userInfo = "",
            );
            await OpayGateway.instance.initializePayment(
              paymentParams: paymentPayload,
              initialState: (OPayResponse? initialState) {
//perform action when in initial
},
              pending: (OPayResponse? pending) {
//perform action when payment is pending
},
              onClose: (OPayResponse response) {
//perform action when payment gateway is closed

},
              onFailed: (OPayResponse response) {
//perform action when payment fails
},
              onSuccess: (OPayResponse response) {
//perform action when payment is successful
},
              onError: () {
},
            );
            CustomDisplay.stopLoading();
          },
          child: const Text("Pay with Opay"),
        ),
Note: the response from the opay payment gateway is in this json format in case you want to create a model or generate one. Response data format is as follows;
{
    "code": "00000",
    "message": "SUCCESSFUL",
    "data":{
        "reference":"1001000",
        "orderNo":"10212100000034000",
        "status":"SUCCESS",
        "vat":{
            "total":10000,
            "currency":"NGN",
            "rate":100,
            "currencySymbo":"₦"
        },
        "failureReason":null,
        "silence":"Y"
    }
}
Congratulations 🎉 🎈 🎊 🍾, you've successfully integrated opay in your flutter app. The code implementation to this article is in this github link. https://github.com/Raks-Javac/Opay_flutter. Kindly star the repo.✨✨🪄
Thanks for taking your time to read this article.