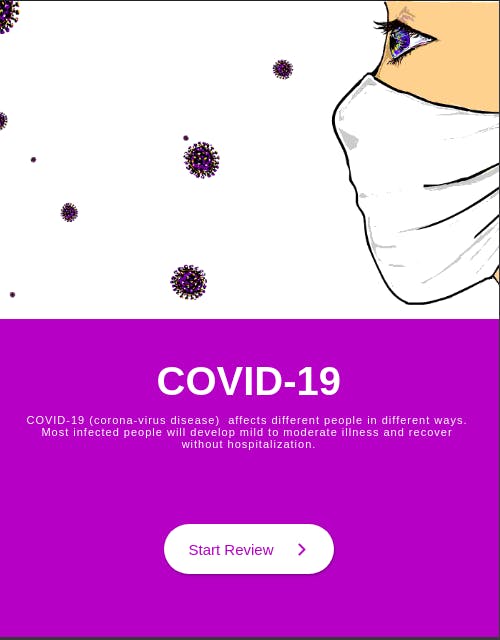
Covid-19 flutter App made with Scoped_model


In this article ,you would be given a great insight of using the scoped_model to manage the state of your app. In this article ,i am going to explain how i made a covid-19 app to manage the state of my app in a smooth an simple way. Scoped_model itself provides you with all you need to pass down logic down to your view in a clean way. As you know getting started creating any app in flutter comes with excitement so lets get started .
In this article, you would,
- learn about scoped_model itself.
- Getting the scoped_model package and using it in your app
- Summary of how scoped_model
1. Learning about scoped_model
The structure of the covid-19 app is what i structured to be like Data -> Model -> View(User Interface) The Data takes on all the data you want to render in you app in a custom class and passing in custom properties. The Model takes on the data from the ‘Data’ section and renders it to the view in a more logical way.In the Model Section is where we call “the Business Logic Section”.
The View is what we call the User Interface(What is being show to the user),
Note: scoped_model doesn’t need to be rendered in a Statefulwidget in the view Section for the state to be changed,
Advantages: Less Boilerplate
A Simple Example :
(Data Section)

```class Data{
int counter;
}
(Model Section)

**in this Section we make use of the counter variable**


class DataModel extends Model{
Data data_provider = Data();
int get counter => data_provider.counter;
#The incrementer method returns the incremnting counter from the Data Class and changes state of the counter with the “notifyListeners()” inbuilt method from the scoped_model in the view
incrementer(){
counter += 1;
notifyListeners();
}
}
(View Section)
#First is invoking your Model class with the ScopedModel instance wrapping it with the rendered uI
class Counter extends StatelessWidget{
@override
Widget build(BuildContext context) {
return ScopedModel<DataModel>(
model: DataModel(),
child: SafeArea(
child: Scaffold(
backgroundColor: Colors.white,
body: Container(
child: ScopedModelDescendant<DataModel>(
builder: (context, child, model) => Column(
crossAxisAlignment: CrossAxisAlignment.center,
mainAxisAlignemnt : MainAxisAlignemnt.center,
children: [
Text(“${model.counter}”),
RaisedButton(
onPressed: ()=> model.incrementer();
child: Text(“Add”),
)
],
),
),
),
),
),
);
}
Looking at the way Scoped_model provides you with power to easily seperate you data from you business logic to you view is amazing and cool right?

2. Getting the scoped_model package and using it in your app
- Open your flutter project ,
- Go to the pubspec.yaml file
- add the following line under under the dependencies.
Note: Indentation is important

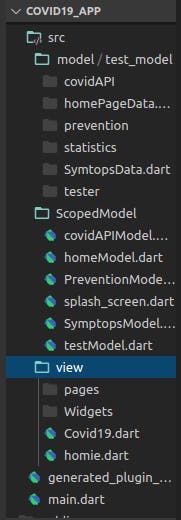
3. Summary of how scoped_model was used in the covid-19 app
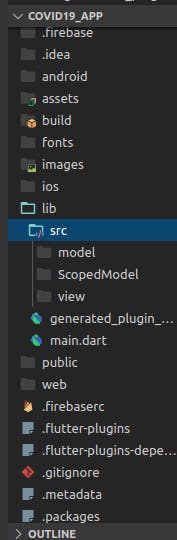
The project lib folder is divided into three folder ,the model contains all the data in the app ,the ScopedModel contains all the business logic and the view is the user interface.
I hope i was able to make you see how cool scoped model is.
The project is open-source therefore the github link to the project is down below https://github.com/Raks-Javac/Covid-19-App